 how-to
Arranging Multiple Frames on One Wall: A Guide
Table of Contents
- Why Arranging Multiple Frames Matters
- Planning Your Gallery Wall Layout Ideas
- Understanding Spacing Between Picture Frames
- Step-by-Step Process for Arranging Your Frames
- How to Hang a Gallery Wall Without Damaging Walls
- Common Mistakes to Avoid
- Achieving Cohesion Across Your Display
- Frequently Asked Questions
Last Updated: September 20, 2026
Why Arranging Multiple Frames Matters
Getting arranging multiple frames right transforms a blank wall into a focal point. The difference between a scattered, chaotic look and a cohesive gallery wall comes down to planning and precision. Most people hang frames randomly, then wonder why the result feels unbalanced. At HF Framing ltd, we help collectors and homeowners solve this exact problem by guiding them through a structured approach to wall displays.
A well-arranged collection tells a story. Whether you're displaying family photographs, artwork, or memorabilia, the way frames sit together creates an impression. Poor spacing and mismatched sizing make even valuable pieces look amateur. Good arrangement elevates everything.
The stakes are higher when your frames contain valuable art or sentimental items. You want the display to look intentional, professional, and permanent. This guide walks you through the entire process.
Planning Your Gallery Wall Layout Ideas
Before you touch a hammer or drill, you need a plan. This is where most people stumble. They grab frames and start hanging, hoping it works out. It rarely does.
Start by deciding what you want to display. Are you framing family photos? Art prints? A mix of sizes and styles? Your answer shapes every decision that follows.
Choosing a Layout Pattern
The layout pattern is your foundation. Several classic patterns work reliably:
Grid layouts create order and formality. Frames sit in neat rows and columns, equally spaced. This works best when all frames are the same size. Grid arrangements suit modern spaces and create visual calm.
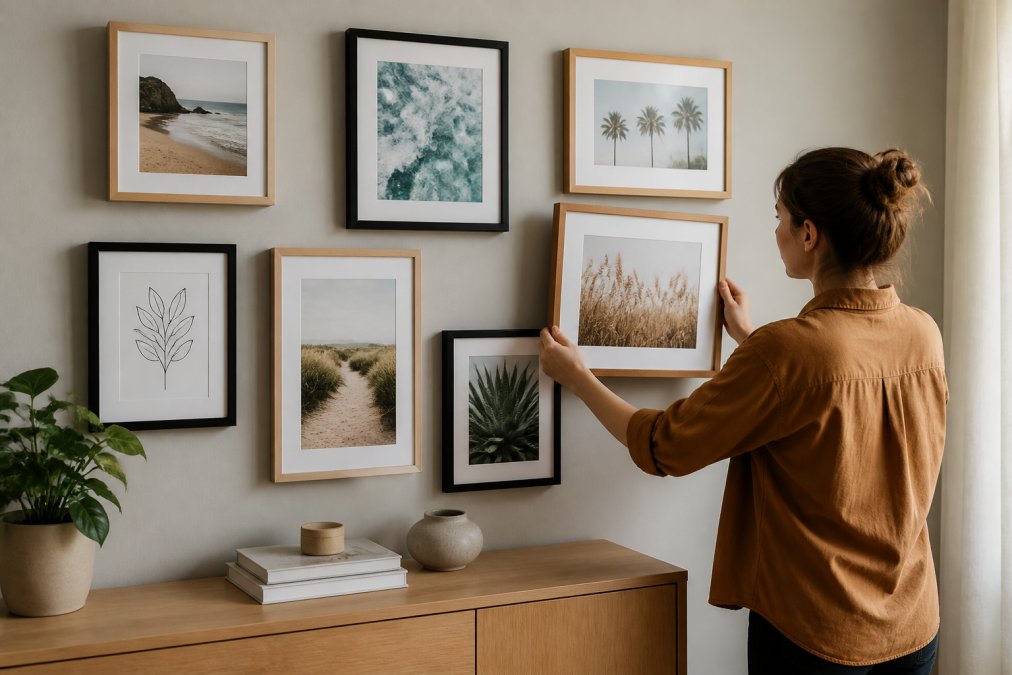
Salon-style arrangements embrace variety. Frames of different sizes cluster together with intentional spacing. This approach feels curated and personal. It works well for eclectic collections. Salon style requires more planning but delivers character.
Linear arrangements run frames in a single horizontal or vertical line. This pattern suits narrow walls or hallways. It's simple to execute and visually clean.
Asymmetrical arrangements balance frames without perfect symmetry. One side might have larger pieces; the other, smaller ones. This approach feels modern and creative. It demands careful spacing to work.
Choose a pattern that matches your space and collection. Your pattern determines spacing, sizing, and hardware choices.
Selecting Frames and Sizes
Frame selection affects how your arrangement looks. Matching frames create unity. Varied frames add personality.
If you're starting fresh, consider a consistent frame style with different mount colours or artwork sizes. This gives cohesion without looking rigid. HF Framing ltd offers bespoke frame solutions that let you maintain a unified look across your entire display while showcasing different pieces.
For existing frames, group them by style. Frames that share a finish (black, natural wood, gold) work together visually. Mixing finishes is possible but requires intentional spacing to prevent the arrangement from feeling scattered.
Size matters. A wall of tiny frames gets lost. A single massive frame dominates. Mix sizes intentionally. A common approach pairs one large statement piece with several smaller supporting frames. This creates visual hierarchy and prevents monotony.
Understanding Spacing Between Picture Frames
Spacing is the detail that separates amateur from professional. Too much space isolates frames. Too little feels cramped. The right spacing creates rhythm.
Consistent Spacing Rules
Consistent spacing between picture frames creates visual flow. The space between frames should feel intentional, not accidental.
A standard approach uses 5 to 7.5 centimetres (2 to 3 inches) between frames. This distance is wide enough to let each frame breathe but close enough to create a unified group. Measure this distance from frame edge to frame edge, not from the centre of one frame to the centre of another.
Vertical spacing matters as much as horizontal. If frames sit at different heights, the gaps between them should remain visually similar. This prevents the arrangement from looking lopsided.
For salon-style arrangements with varied sizes, maintain consistent spacing even when frame dimensions differ. A small frame and a large frame sit the same distance apart. This consistency creates order within apparent chaos.
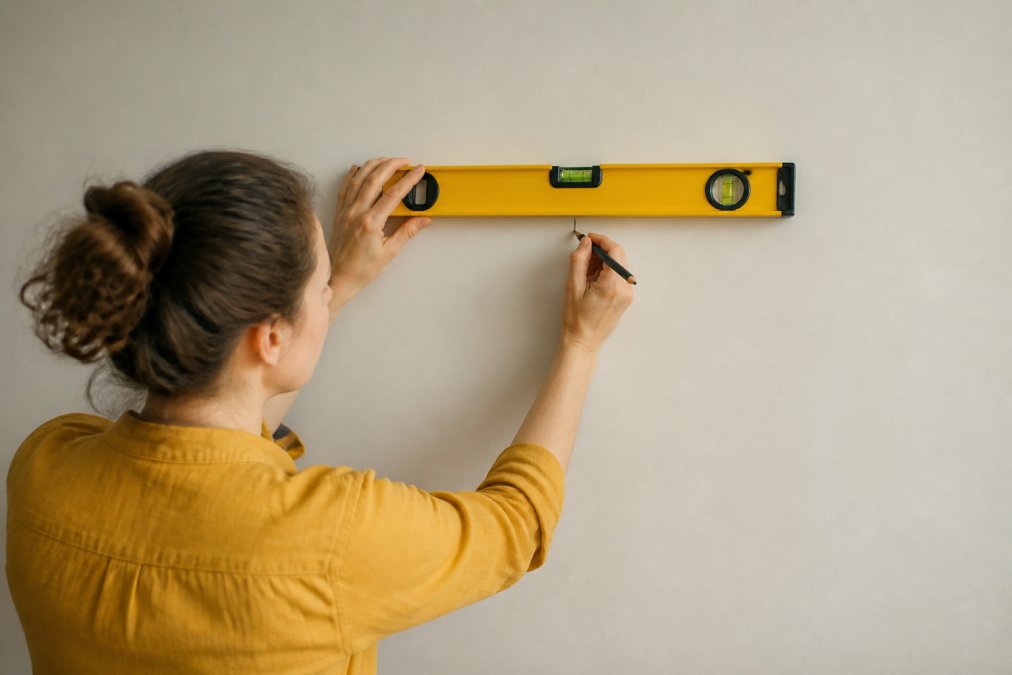
Mark your spacing with a pencil before hanging anything. Erase marks later. This prevents costly mistakes.
Visual Balance and Proportion
Balance isn't about perfect symmetry. It's about weight distribution. A large frame on the left needs visual weight on the right, either a large frame or several smaller ones.
Proportion ties the arrangement to your wall. A small cluster of frames on a large wall looks timid. Frames should occupy roughly one-third to two-thirds of the wall space. This ratio feels intentional without overwhelming the room.
Consider the wall's other elements. A gallery wall above a sofa works best when it aligns roughly with the sofa's width. This creates visual connection between furniture and art.
The arrangement's centre should sit at eye level, approximately 145 to 152 centimetres (57 to 60 inches) from the floor. This is where the human eye naturally focuses. Position your largest or most important frame near this height.
Step-by-Step Process for Arranging Your Frames
A methodical process prevents mistakes. Follow these steps in order.
Step 1: Measure and Mark Your Wall
Start with a clean wall. Remove any existing hardware. Fill old nail holes if they're visible.
Measure the wall's width and height. Locate the centre point. Mark it lightly with a pencil.
Decide how much wall space your arrangement will occupy. Sketch a rough boundary. This prevents the arrangement from creeping across too much space.
Identify the wall's studs using a stud finder. Mark them. You'll want at least one nail in a stud for stability, especially if your frames are heavy or numerous.
Measure and mark the position of your largest or most important frame first. This anchor point determines everything else. Mark the top-left corner of this frame's position on the wall.
Step 2: Create a Paper Template
This step saves time and prevents damage. Cut brown paper or newspaper to match each frame's exact size. Label each piece so you know which is which.
Lay the paper pieces on the floor in your desired arrangement. Step back and view it from above. Does the spacing feel right? Does the overall shape suit your wall? Adjust until you're satisfied.
Tape the paper templates to the wall in your planned positions. This gives you a full-scale preview. Stand back and assess. If it looks good from across the room, proceed. If something feels off, adjust now. Moving paper costs nothing. Repairing wall damage costs time and money.
Step 3: Position Your Frames
With your template in place, mark the position of each nail hole. Use a small nail or awl to make a precise mark through the paper template into the wall.
Remove the paper templates carefully. You're left with marked nail positions.
Install your hardware according to the frame's weight and your wall type. Use appropriate anchors for plasterboard. Use masonry fasteners for brick or plaster. HF Framing ltd can advise on the best hanging solutions for your specific frames and wall surface.
Hang frames one at a time. Step back after each installation to check alignment. A small spirit level helps ensure frames hang straight.
How to Hang a Gallery Wall Without Damaging Walls
Damage during installation ruins the effect. Proper technique protects your walls.
Choosing the Right Hanging Hardware
The hardware you choose depends on your wall type and frame weight. Lightweight frames on plasterboard need simple picture hooks. Heavy frames need wall anchors or studs.
Drywall anchors come in several types. Toggle bolts work for medium-weight frames. Expansion anchors suit lighter loads. For heavy frames, locate studs and use wood screws.
Plaster and brick walls need masonry anchors. These grip differently than plasterboard anchors. Using the wrong hardware in the wrong wall type causes slipping and damage.
Read your frame's weight specifications. Match hardware to that weight. Oversizing hardware is safer than undersizing.
Protecting Your Walls During Installation
Use painter's tape below where you'll hammer. This catches dust and prevents wall marks.
When drilling, start slowly. High-speed drilling can crack drywall. Use a light touch.
If you're uncertain about wall type or structure, consult a professional.
Common Mistakes to Avoid
Learning from others' errors saves you frustration.
Spacing inconsistency is the biggest mistake. Varying gaps make an arrangement look accidental. Measure once, measure twice, then hang.
Achieving Cohesion Across Your Display
Cohesion makes a collection feel intentional rather than random. Several elements create it.
Frequently Asked Questions
How do you space multiple frames on a wall?
Consistent spacing is key when arranging multiple frames on one wall. Most designers recommend 5-10 centimetres between frames for a balanced look. Measure this distance carefully before hanging, and use a spirit spirit level to ensure frames sit straight. If you're creating a gallery wall with mixed sizes, maintain the same spacing between all pieces rather than adjusting gaps based on frame dimensions. This creates visual rhythm and prevents the display from looking haphazard.
What is the best way to arrange different sized picture frames?
Arrange frames by creating an overall geometric shape, a rectangle, square, or organic cluster, rather than scattering them randomly. Start with your largest frame as an anchor point, then position smaller frames around it. Symmetrical arrangements (grid or linear patterns) work well for formal spaces, while asymmetrical layouts suit living rooms and creative environments. Sketch your arrangement on paper first to test proportions before making any holes in the wall.
How do you plan a gallery wall layout without making holes?
Use paper templates and painter's tape to preview your layout risk-free. Cut paper to the exact size of each frame, tape them to the wall in your planned arrangement, and step back to assess the composition. Once satisfied, mark nail positions lightly with a pencil through the paper template. For renters or those wanting temporary displays, adhesive picture hangers offer a damage-free alternative to nails, though they work best for lighter frames. Always check manufacturer weight limits before hanging.
Should all frames on a gallery wall be the same colour?
Matching frame colours creates visual unity and a polished, curated feel, particularly for formal or minimalist spaces. However, mixing frame finishes (such as black, natural wood, and gold) can work beautifully if done intentionally and with restraint. The key is limiting your palette to two or three complementary colours and distributing them evenly across the wall to avoid clustering all one colour in one area. Your artwork and wall colour should guide this choice; neutral walls pair well with statement frames, whilst coloured walls benefit from simpler frame finishes.